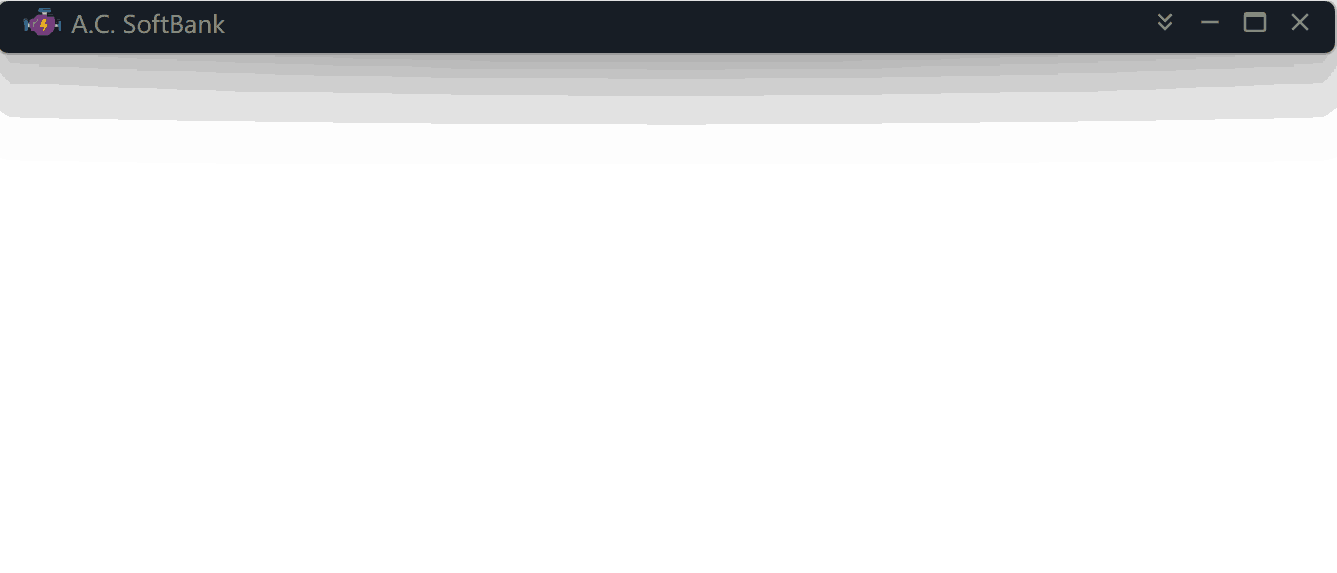
本文将演示如何在 Electron 中快速实现一个标题栏,可以卷起,拖动,并带你进一步了解 Electron 的 bug。
隐藏默认标题栏
在你创建 BrowserWindow 的方法中,指定以下参数:
1function createWindow() {
2  if (prod) Menu.setApplicationMenu(null);
3  mainWindow = new BrowserWindow({
4    titleBarStyle: dev ? 'default' : 'hiddenInset',
5    titleBarOverlay: true,
6    frame: false,
7    // ...
编写自己的标题栏
现在默认的标题栏已经消失了,你应该编写一个 div,作为自己的标题栏。这个 div 和其它 div 没什么两样,除了它要支持以下三种东西:
- 可以拖动
- 可以卷起
- 有一个红绿灯组件(卷起/放下,最大化,最小化,关闭)
1 <div className="title-bar">
2  <div className="logo-and-name"><img src="public/assets/icon.ico" alt="logo" />My Application</div>
3  <div className="traffic-light">
4    <MinMaxClose /> <!-- MinMaxClose 你可以自己实现,四个按钮,卷起/放下,最大化,最小化,关闭 -->
5  </div>
6</div>
拖动
编写一个 Drag 组件,它的所有 children 都可以拖动。
 1import * as React from "react";
 2import { HTMLAttributes } from "react";
 3import nconsole from "_rutils/nconsole";
 4
 5interface DragProps extends HTMLAttributes<HTMLDivElement> {
 6  children: React.ReactNode;
 7}
 8
 9function Drag(props: DragProps) {
10  const { children, ...rest } = props;
11  const stopMove = () => {
12    window.ipcAPI?.initMoveWindow(false);
13  };
14
15  const startMove = (e: React.SyntheticEvent<HTMLDivElement>) => {
16    let elementDraggable = true;
17
18    if (e.target instanceof HTMLInputElement // 输入框,按钮等不能拖动,可以自由添加不希望拖动的组件
19      || e.target instanceof HTMLButtonElement
20      || e.target instanceof HTMLTextAreaElement
21    ) {
22      elementDraggable = false;
23    }
24
25    if (elementDraggable) {
26      window.ipcAPI?.initMoveWindow(true);
27      window.ipcAPI?.moveWindow();
28    }
29  };
30
31  return (
32    <div
33      {...rest}
34      onMouseDown={(e) => startMove(e)}
35      onMouseUp={(e) => stopMove()}
36    >
37      { children }
38    </div>
39  );
40}
41
42export default Drag;
这个window.ipcAPI?.initMoveWindow(true); window.ipcAPI?.moveWindow(); 是什么呢?
1function initMoveWindow(moveState: boolean) {
2  ipcRenderer.send('window-move-init', moveState);
3}
4
5function moveWindow() {
6  ipcRenderer.send('window-move');
7}
使用 ipcMain 来控制窗口移动
来看看 window-move-init and window-move 做了什么。
window-move-init会在你点击标题栏的瞬间调用,它告诉 electron:“准备移动!”window-move会在你鼠标移动的每一帧调用
把以下代码放到你的 main.ts 或者其它能够调用 ipcMain.on 的位置。
 1
 2let winStartPosition = { x: 0, y: 0 };
 3let mouseStartPosition = { x: 0, y: 0 };
 4let size = [0, 0];
 5let ready2move = false;
 6let movingInterval: string | number | NodeJS.Timeout | null | undefined;
 7
 8ipcMain.on("window-move-init", (e, moveState: boolean) => {
 9  if (moveState) {
10    const winPosition = win.getPosition();
11    winStartPosition = { x: winPosition[0], y: winPosition[1] };
12    mouseStartPosition = screen.getCursorScreenPoint();
13    size = win.getSize();
14  } else {
15    if (movingInterval) clearInterval(movingInterval);
16    movingInterval = null;
17  }
18  ready2move = moveState;
19});
20
21ipcMain.on("window-move", (e) => {
22  if (ready2move) {
23    if (movingInterval) {
24      clearInterval(movingInterval);
25    }
26    // 使用 setInterval 是为了解决鼠标移动太快离开窗口,导致 mouseMove 事件丢失的问题
27    movingInterval = setInterval(() => {
28      // 实时更新位置
29      const cursorPosition = screen.getCursorScreenPoint();
30      const x = winStartPosition.x + cursorPosition.x - mouseStartPosition.x;
31      const y = winStartPosition.y + cursorPosition.y - mouseStartPosition.y;
32      // 你必须用 setBounds,而不能用 setPosition,否则窗口会慢慢变大,这就是我说的 electron 的 bug,至今不修复
33      win.setBounds({ // win 就是你的 mainWindow,本示例中没有体现
34        x,
35        y,
36        width: size[0],
37        height: size[1],
38      });
39    }, 1); // 1ms 并不会导致你的 app 性能变慢
40  } else {
41    if (movingInterval) clearInterval(movingInterval);
42    movingInterval = null;
43  }
44});
最终为了防止出现不可预料的问题,应该在点击右键或者按 ESC 的时候,取消拖动
 1export function APP() {
 2  useEffect(() => {
 3    // 某些异常场合按 ESC 停止拖动
 4    const dragFallBack = (e: KeyboardEvent) => {
 5      if (e.key === "Escape") {
 6        window.ipcAPI?.initMoveWindow(false);
 7      }
 8    };
 9    window.addEventListener("keydown", dragFallBack);
10    return () => {
11      window.removeEventListener("keydown", dragFallBack);
12    };
13  }, []);
14
15  return (
16     <section style={{ height: "100%" }} onContextMenu={() => window.ipcAPI?.initMoveWindow(false)}>
17  )
18}
好了,现在试试看拖动效果吧!
卷起
卷起比较简单,和拖动同理,也是利用 ipcMain 来控制窗口。不同的是,卷起放下使用同一个按钮,因此你应该记录当前是卷起或者放下。
renderer
 1<div className="traffic-light"> <!-- 在标题栏中增加卷起/放下,最大化/最小化,关闭的逻辑 -->
 2  <MinMaxClose
 3    scrollButtonStatus={trafficLightScrollButtonStatus}
 4    onScrollClick={() => {
 5      window.ipcAPI?.titleScrollToggle();
 6    }}
 7    onMinimize={() => {
 8      window.ipcAPI?.mainWindowControl('minimize');
 9    }}
10    onMaximize={() => window.ipcAPI?.mainWindowControl('maximize')}
11    onClose={() => alertAndClose()}
12  />
13</div>
ipcMain 的实现
 1let sizeForScroll = [0, 0];
 2let alreadyScrollUp = false;
 3
 4ipcMain.handle("is-window-maximized", (e) => {
 5  return win.isMaximized();
 6});
 7
 8ipcMain.handle("is-window-scrolled-up", (e) => {
 9  return win.getSize()[1] <= 50;
10});
11
12const scroll = (method: string) => {
13  if (method === "up") {
14    if (alreadyScrollUp) {
15      return;
16    }
17    sizeForScroll = win.getSize();
18    // logger.log("current size: " + sizeForScroll[0] + ", " + sizeForScroll[1]);
19    win.setSize(sizeForScroll[0], titleBarHeight, true);
20    alreadyScrollUp = true;
21    return;
22  }
23  alreadyScrollUp = false;
24  // 使用当前宽度,和卷起前的高度
25  win.setSize(win.getSize()[0], sizeForScroll[1], true);
26};
27
28// 滚轮调用,会瞬间多次调用
29ipcMain.on("title-scroll", (e, method: string) => {
30  scroll(method);
31});
32
33// 按钮调用
34ipcMain.on("title-scroll-toggle", (e) => {
35  if (alreadyScrollUp) {
36    // 放下
37    alreadyScrollUp = false;
38    // 使用当前宽度,和卷起前的高度
39    win.setSize(win.getSize()[0], sizeForScroll[1], true);
40    return;
41  }
42  // 卷起
43  sizeForScroll = win.getSize();
44  // logger.log("current size: " + sizeForScroll[0] + ", " + sizeForScroll[1]);
45  win.setSize(sizeForScroll[0], titleBarHeight, true);
46  alreadyScrollUp = true;
47});
完成
好了。以上并不是完整的代码,但是它包含了一种解决问题的思路。到此,你应该可以实现封面图中的效果了。


