This article will show you how to quickly implement a title bar in Electron that can be rolled up, dragged around, and take you further through the Electron bugs.
Hide the default title bar
Change properties in the main.ts(or main.js) where you create the BrowserWindow like below:
1function createWindow() {
2  if (prod) Menu.setApplicationMenu(null);
3  mainWindow = new BrowserWindow({
4    titleBarStyle: dev ? 'default' : 'hiddenInset',
5    titleBarOverlay: true,
6    frame: false,
7    // ...
Make a title bar div
Now that the default title bar is gone, you should write a div that will serve as your own title bar. This div is no different from any other div, except that it will support three things:
- the ability to drag
- can be rolled up
- have a traffic light component (roll up/down, maximize, minimize, close)
1 <div className="title-bar">
2  <div className="logo-and-name"><img src="public/assets/icon.ico" alt="logo" />My Application</div>
3  <div className="traffic-light">
4    <MinMaxClose /> <!-- MinMaxClose You can implement it yourself, four buttons, roll up/down, maximize, minimize, close -->
5  </div>
6</div>
Make it draggable
Make a Drag component
A Drag component that has all its children draggable.
 1import * as React from "react";
 2import { HTMLAttributes } from "react";
 3import nconsole from "_rutils/nconsole";
 4
 5interface DragProps extends HTMLAttributes<HTMLDivElement> {
 6  children: React.ReactNode;
 7}
 8
 9function Drag(props: DragProps) {
10  const { children, ...rest } = props;
11  const stopMove = () => {
12    window.ipcAPI?.initMoveWindow(false);
13  };
14
15  const startMove = (e: React.SyntheticEvent<HTMLDivElement>) => {
16    let elementDraggable = true;
17
18    if (e.target instanceof HTMLInputElement // input, buttons, etc. can not be dragged, you can freely add components that do not want to be dragged.
19      || e.target instanceof HTMLButtonElement
20      || e.target instanceof HTMLTextAreaElement
21    ) {
22      elementDraggable = false;
23    }
24
25    if (elementDraggable) {
26      window.ipcAPI?.initMoveWindow(true);
27      window.ipcAPI?.moveWindow();
28    }
29  };
30
31  return (
32    <div
33      {...rest}
34      onMouseDown={(e) => startMove(e)}
35      onMouseUp={(e) => stopMove()}
36    >
37      { children }
38    </div>
39  );
40}
41
42export default Drag;
So what are window.ipcAPI?.initMoveWindow(true); window.ipcAPI?.moveWindow(); ?
1function initMoveWindow(moveState: boolean) {
2  ipcRenderer.send('window-move-init', moveState);
3}
4
5function moveWindow() {
6  ipcRenderer.send('window-move');
7}
See it below.
Using ipcMain to Control Window Movement
Let’s take a look at the window-move-init and window-move code.
window-move-initinvokes when you click on the title bar, it tells electron: “Prepare to move!”window-moveinvokes when your mouse moves every frame
Put the following code into your main.ts or any other location where you can call ipcMain.on.
 1
 2let winStartPosition = { x: 0, y: 0 };
 3let mouseStartPosition = { x: 0, y: 0 };
 4let size = [0, 0];
 5let ready2move = false;
 6let movingInterval: string | number | NodeJS.Timeout | null | undefined;
 7
 8ipcMain.on("window-move-init", (e, moveState: boolean) => {
 9  if (moveState) {
10    const winPosition = win.getPosition();
11    winStartPosition = { x: winPosition[0], y: winPosition[1] };
12    mouseStartPosition = screen.getCursorScreenPoint();
13    size = win.getSize();
14  } else {
15    if (movingInterval) clearInterval(movingInterval);
16    movingInterval = null;
17  }
18  ready2move = moveState;
19});
20
21ipcMain.on("window-move", (e) => {
22  if (ready2move) {
23    if (movingInterval) {
24      clearInterval(movingInterval);
25    }
26    // setInterval is used to solve the problem of mouseMove events being lost when the mouse moves out of the window too quickly.
27    movingInterval = setInterval(() => {
28      // real-time location updates
29      const cursorPosition = screen.getCursorScreenPoint();
30      const x = winStartPosition.x + cursorPosition.x - mouseStartPosition.x;
31      const y = winStartPosition.y + cursorPosition.y - mouseStartPosition.y;
32      // You have to use setBounds, not setPosition, otherwise the window will slowly get bigger,
33      // which is what I mean by electron's bug, which is still not fixed!
34      win.setBounds({ // win is your mainWindow, which is not reflected in this example.
35        x,
36        y,
37        width: size[0],
38        height: size[1],
39      });
40    }, 1); // 1ms doesn't slow down your app's performance.
41  } else {
42    if (movingInterval) clearInterval(movingInterval);
43    movingInterval = null;
44  }
45});
Eventually, to prevent unforeseen problems, you should cancel dragging when you right-click or press ESC
 1export function APP() {
 2  useEffect(() => {
 3    const dragFallBack = (e: KeyboardEvent) => {
 4      if (e.key === "Escape") {
 5        window.ipcAPI?.initMoveWindow(false);
 6      }
 7    };
 8    window.addEventListener("keydown", dragFallBack);
 9    return () => {
10      window.removeEventListener("keydown", dragFallBack);
11    };
12  }, []);
13
14  return (
15     <section style={{ height: "100%" }} onContextMenu={() => window.ipcAPI?.initMoveWindow(false)}>
16  )
17}
Okay, now try the drag effect!
Roll up
Rolling up is simpler and works the same way as dragging, also using ipcMain to control the window.
The difference is that rollup and down use the same button, so you should keep track of whether you are currently rolled up or down.
Renderer
 1<div className="traffic-light"> <!-- Add roll up/down, maximize/minimize, close logic to title bar -->
 2  <MinMaxClose
 3    scrollButtonStatus={trafficLightScrollButtonStatus}
 4    onScrollClick={() => {
 5      window.ipcAPI?.titleScrollToggle();
 6    }}
 7    onMinimize={() => {
 8      window.ipcAPI?.mainWindowControl('minimize');
 9    }}
10    onMaximize={() => window.ipcAPI?.mainWindowControl('maximize')}
11    onClose={() => alertAndClose()}
12  />
13</div>
ipcMain code
 1let sizeForScroll = [0, 0];
 2let alreadyScrollUp = false;
 3
 4ipcMain.handle("is-window-maximized", (e) => {
 5  return win.isMaximized();
 6});
 7
 8ipcMain.handle("is-window-scrolled-up", (e) => {
 9  return win.getSize()[1] <= 50;
10});
11
12const scroll = (method: string) => {
13  if (method === "up") {
14    if (alreadyScrollUp) {
15      return;
16    }
17    sizeForScroll = win.getSize();
18    // logger.log("current size: " + sizeForScroll[0] + ", " + sizeForScroll[1]);
19    win.setSize(sizeForScroll[0], titleBarHeight, true);
20    alreadyScrollUp = true;
21    return;
22  }
23  alreadyScrollUp = false;
24  // Uses the current width, and height before roll-up
25  win.setSize(win.getSize()[0], sizeForScroll[1], true);
26};
27
28// when mouse scrolls, which will be called multiple times instantly
29ipcMain.on("title-scroll", (e, method: string) => {
30  scroll(method);
31});
32
33// when button clicked
34ipcMain.on("title-scroll-toggle", (e) => {
35  if (alreadyScrollUp) {
36    // scroll down
37    alreadyScrollUp = false;
38    // Uses the current width, and height before roll-up
39    win.setSize(win.getSize()[0], sizeForScroll[1], true);
40    return;
41  }
42  // scroll up
43  sizeForScroll = win.getSize();
44  // logger.log("current size: " + sizeForScroll[0] + ", " + sizeForScroll[1]);
45  win.setSize(sizeForScroll[0], titleBarHeight, true);
46  alreadyScrollUp = true;
47});
Done
OK. The above is not the complete code, but it contains an idea of how to solve the problem.
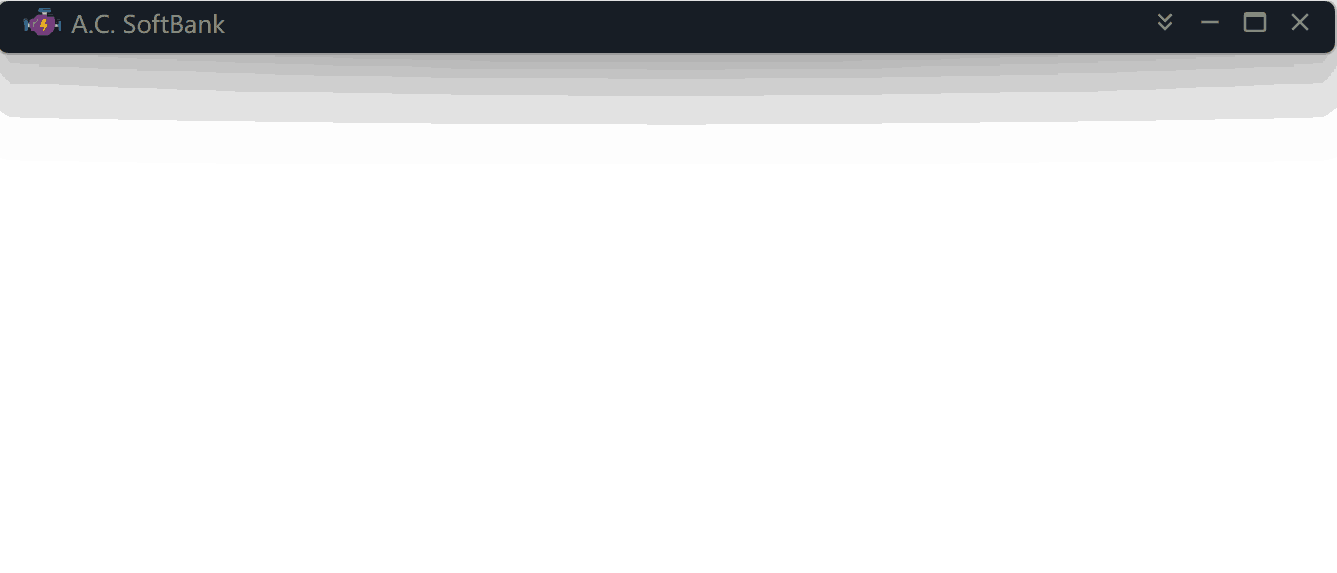
At this point, you should be able to achieve the effect in the cover image.


